
Keychains are more than just functional accessories; they are an opportunity for creativity and self-expression. Crafting custom keychains is an enjoyable and fulfilling DIY project that allows you to personalize your keys or create unique gifts for loved ones. In this comprehensive guide, we will explore various creative projects. Whether you’re a seasoned crafter or a beginner looking to dip your toes into the world of DIY, there’s something for everyone in this article including custom keychains!
1: Essential Supplies
Before we dive into crafting custom keychains, let’s gather the essential supplies you’ll need:
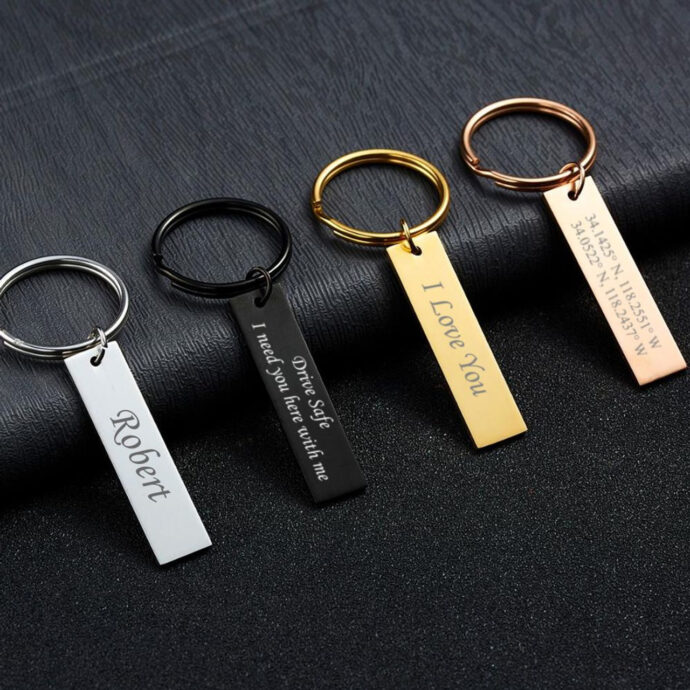
- Keychain Blanks: These are the base materials for your keychains and come in various shapes and materials, such as wood, acrylic, or metal.
- Crafting Tools: You’ll need scissors, pliers, a hole punch, and a strong adhesive like E6000 glue.
- Decorative Materials: Collect an array of materials to personalize your keychains, such as colored paper, fabric, beads, buttons, and small trinkets.
- Paints and Markers: If you plan to paint or draw on your keychains, acquire acrylic paints, paintbrushes, and permanent markers.
- Clear Sealant: This will protect your keychains and make them more durable.
- Key Rings: Don’t forget key rings to attach your finished keychains to your keys or bags.
2: Personalized Photo Keychains
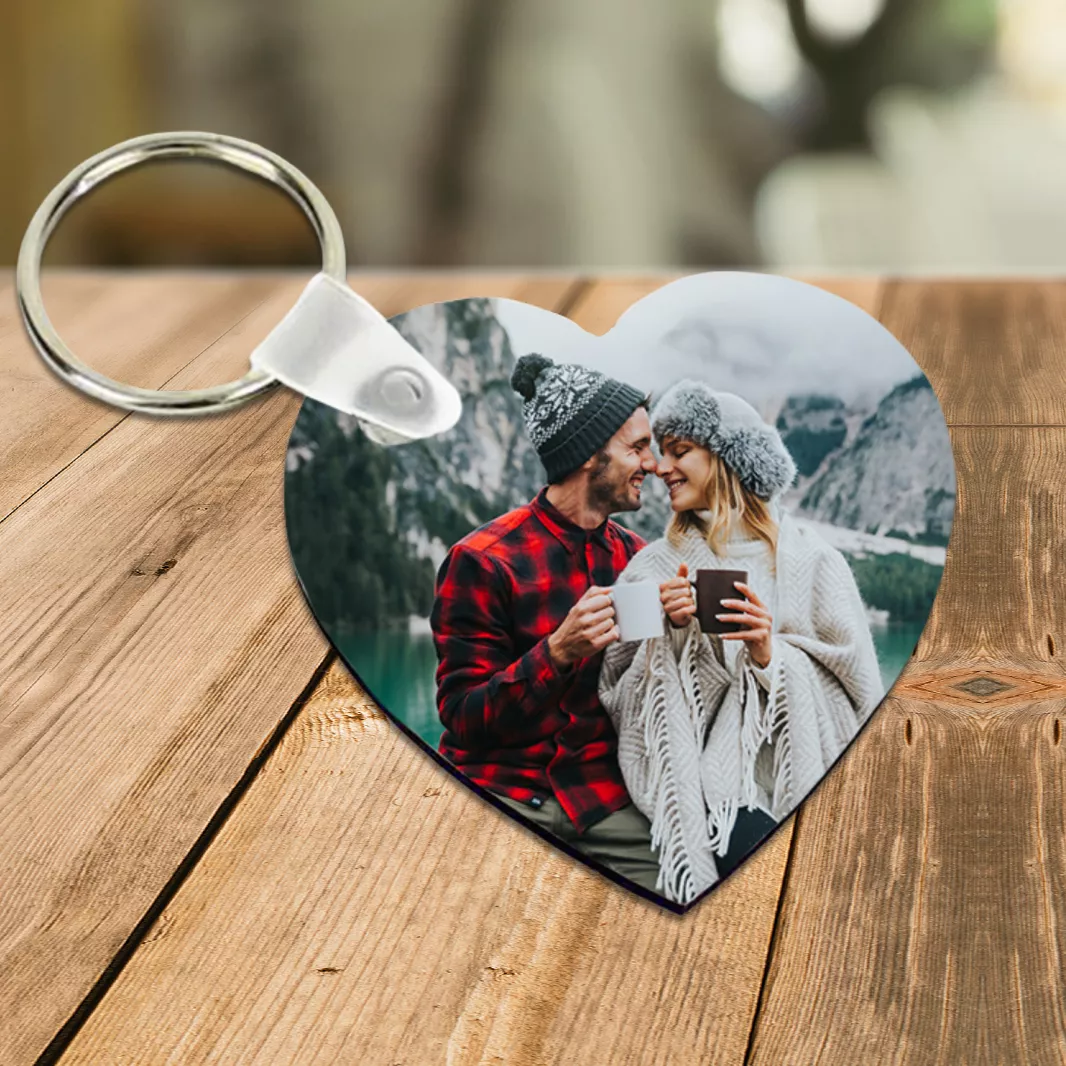
One of the most sentimental and popular options is creating custom photo keychains. Here’s how:
- Gather Photos: Choose your favorite pictures or sentimental photos. Print them to size or resize them using photo editing software.
- Cut and Seal: Trim the photos to fit your keychain blanks. Apply a clear sealant to protect the images.
- Adhere and Finish: Glue the photos onto the keychain blanks, ensuring they are centered. Let them dry and add a layer of clear sealant for extra protection.
- Attach Key Rings: Once everything is dry, attach key rings to your personalized photo keychains, and they’re ready to use.
3: Resin Keychains
Resin keychains offer endless creative possibilities, from embedding tiny objects to creating vibrant designs. Here’s a simple resin keychain project:
- Prepare Materials: Choose your resin, molds, and any decorative items like dried flowers, glitter, or tiny charms.
- Mix Resin: Follow the instructions on your resin packaging to mix it thoroughly.
- Pour and Decorate: Pour the resin into your mold halfway. Add your chosen decorations, and then top off the mold with more resin.
- Cure: Allow the resin to cure according to the manufacturer’s instructions, usually for 24-48 hours.
- Demold and Finish: Once cured, remove the keychain from the mold, drill a hole for the key ring, and attach it.
4: Leather and Fabric Keychains
Leather and fabric keychains are not only stylish but also easy to make:
- Cut Shapes: Trace and cut your desired shape from leather or fabric. Common shapes include circles, rectangles, and hearts.
- Decorate: Use fabric paint, markers, or embroidery to personalize your keychains with names, quotes, or designs.
- Assemble: If using fabric, glue or sew two pieces together with a piece of interfacing for stability. If using leather, you can leave it as a single layer.
- Add Key Rings: Punch a hole at the top and attach a key ring.
5: Beaded Keychains
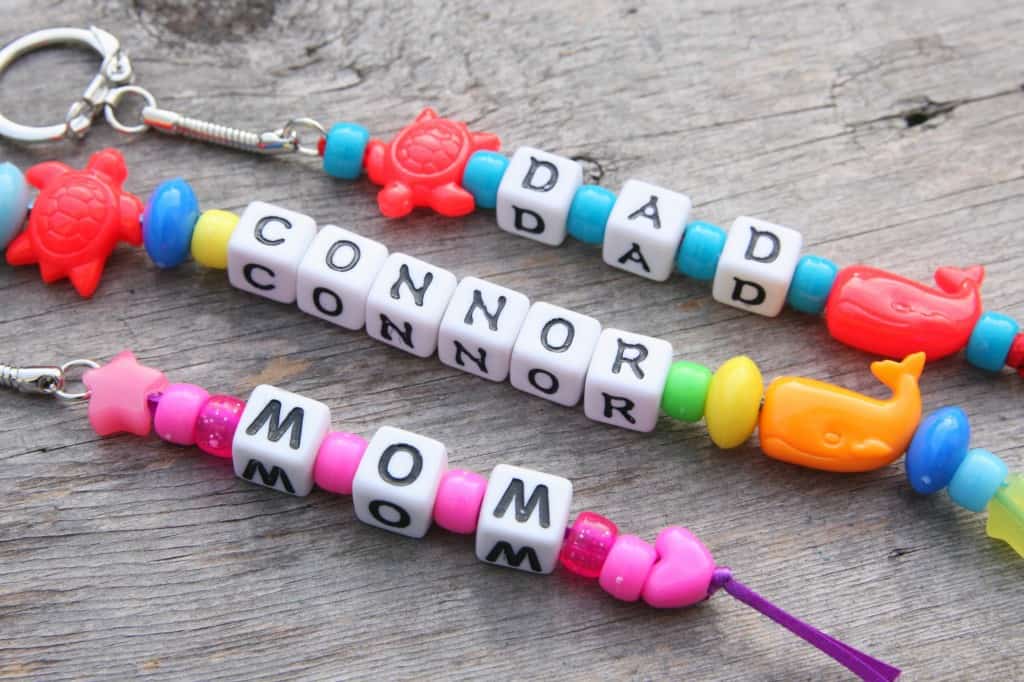
Beaded keychains are not only charming but also great for destressing:
- Select Beads: Choose a variety of beads in different sizes, shapes, and colors.
- Design: Plan your bead pattern. You can go for symmetrical designs or random arrangements.
- String Beads: Use a strong cord or wire to string the beads following your design.
- Secure: Tie a knot at the end of the cord and add a dab of glue for extra security.
- Attach Key Ring: Slide the cord through a key ring and tie a knot to secure it.
6: Wooden Keychains
Wooden keychains provide a rustic and natural feel:
- Cut Wood: Purchase wooden blanks or cut your own shapes from thin plywood or balsa wood.
- Decorate: Paint the wood, add designs with markers, or even try wood burning for an intricate touch.
- Seal: Apply a clear sealant to protect the wood and give it a polished finish.
- Attach Key Rings: Drill a hole at the top and attach a key ring.
7: Polymer Clay Keychains
Polymer clay is a versatile material for creating custom keychains:
- Shape Clay: Mold the clay into your desired shape, using cookie cutters or free-form sculpting.
- Decorate: Use smaller pieces of clay to create designs, add texture, or mix colors to achieve your desired look.
- Bake: Follow the baking instructions on your clay packaging to harden the keychain.
- Paint and Seal: After baking, paint your keychain if needed, and apply a clear sealant.
- Add Key Ring: Once dry, attach a key ring to complete your polymer clay keychain.
FAQs
Can I use digital photos for my personalized photo keychains?
Yes, you can use digital photos. Simply print them using a good quality printer and then resize or crop them to fit the keychain blank. Ensure you use a sealant to protect the printed photo from wear and tear.
What precautions should I take while working with resin for keychains?
When working with resin, ensure you work in a well-ventilated area. It’s also advisable to wear gloves to avoid direct skin contact and safety goggles to protect your eyes from any accidental splashes. Always follow the manufacturer’s safety guidelines.
Can I use fabric scraps left from other projects for fabric keychains?
Absolutely! Fabric keychains are a great way to repurpose and recycle fabric scraps. Just make sure the fabric is clean and free from fraying.
How do I ensure my beaded keychain doesn’t come apart with use?
To ensure durability, use a strong cord or wire for stringing the beads. After finishing your design, tie a secure knot and add a dab of strong adhesive or glue to the knot for extra security.
Can I make a double-sided wooden keychain with different designs on each side?
Yes, you can! Just ensure you decorate and seal one side first, let it dry completely, and then work on the other side. This prevents smudging or ruining the first design.
What if I don’t have a hole punch for my leather or fabric keychains?
If you don’t have a hole punch, you can carefully use scissors to make a small incision or use a sharp needle to create a hole. Just ensure the hole is clean and the edges are reinforced to prevent tearing or fraying.
Conclusion
Custom keychains offer a world of creative possibilities. Whether you prefer personalized photo keychains, resin creations, fabric and leather designs, beaded keychains, wooden wonders, or polymer clay masterpieces, there’s a DIY project waiting for you. Experiment, have fun, and enjoy the satisfaction of crafting unique keychains that will add a personal touch to your keys or make heartfelt gifts for friends and family. Happy crafting!


