
For documentary filmmakers, journalists, students, and others, recording a terrific-sounding interview is a lot tougher than it appears. In an interview, it’s critical to have a clear, audible sound. If the audio quality is poor, people become disengaged from what they’re watching. We, as a society, may be willing to overlook poor video quality in favor of poor sound.
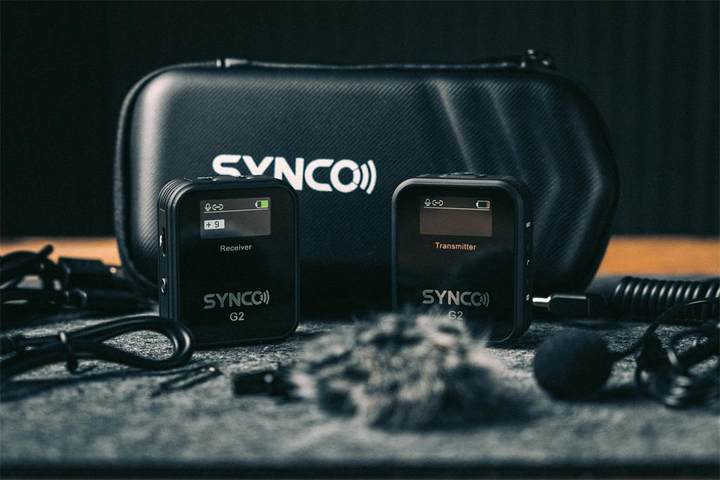
When it comes to recording decent audio for an interview, the first link in the chain is a great mic. When capturing audio, avoid utilizing a built-in microphone. A wireless lavalier microphone, on the other hand, is an excellent mic for recording interviews since it is portable and easy to use. The SYNCO G Series is a category of wireless microphones compatible with different devices. Before we start with the tips for how to record an interview using the best wireless lavalier microphone, let’s know about wireless microphones in depth.
What is a Wireless Lavalier Microphone?
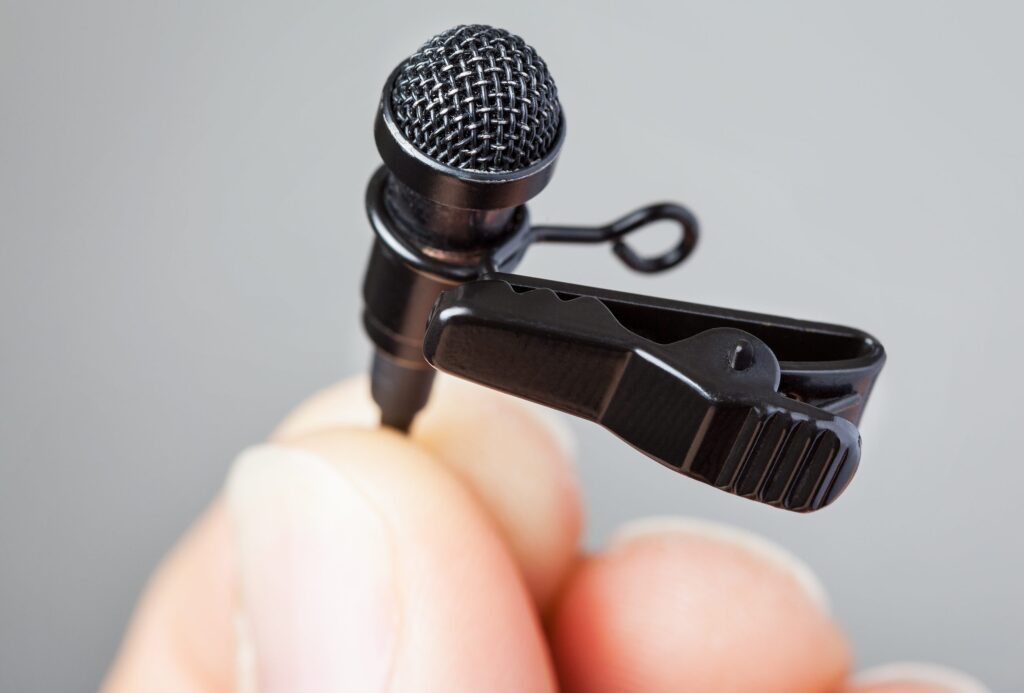
A lavalier microphone is a tiny microphone affixed to a person’s body or clothing. They’re available in wired and wireless versions, and they’re made to be small and light. A wired lavalier mic can limit an actor’s movement, but a wireless lavalier mic simply requires a small transmitter pack that can be fastened to their belt or carried in their pocket.
Wireless lavalier microphones send sounds straight to a receiver that may be controlled and adjusted by a sound mixer via radio frequencies. There are many different types of lavalier microphones, but the best ones will generate audio that is comparable to that of a traditional boom mic. If you record with your phone, you can get a wireless lavalier microphone for iPhone or a wireless lavalier microphone for android.
Tips On How To Record An Interview Using A Wireless Lavalier Microphone
1. Test It Before The Finale
Equipment inspection and testing are easy, but it is overlooked far too often due to last-minute cramming and hurried set-ups. Nothing kills the vibe like your wireless lavalier microphone system’s batteries dying in the middle of an interview or a full SD card. Before going to your interview site, double-check that you have all of your necessary equipment.
After you’ve set up your camera and lighting, take a few extra times to run an audio test and listen to it. Then you can deal with any undesirable background noises in the room. Your subject, for example, could be standing right next to a device that makes noise. The hum of the device will be picked up by your mic. Adjust your mike to point away from the refrigerator and reconsider where the subject is seated. When setting up, these seemingly minor things are easily ignored and aren’t seen until post-production. You’d thank yourself later if you took the time to conduct a test.
2. Positioning Of The Mic
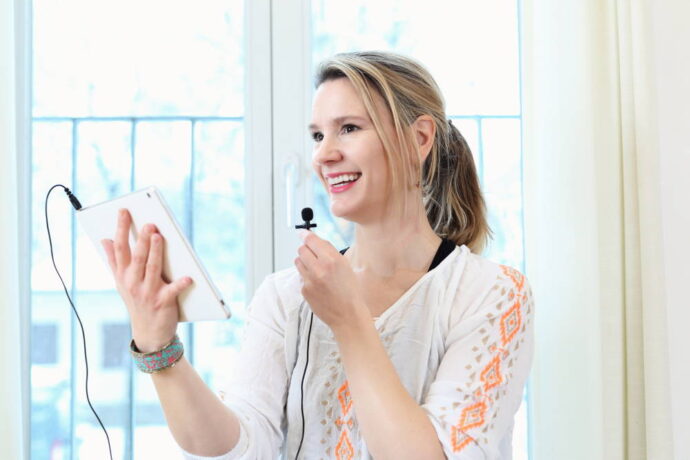
Perfectly center your wireless lavalier microphone for DSLR on your chest. If you raise your voice too high, it will sound wrapped up, as if you’re speaking through a scarf. Because your chin casts a shadow across the mic, this is the case. Your voice will sound weaker and less clear if you place it too far down. To find a foot or less from the mouth to balance the positioning.
To attain a good mix of intimacy and natural sound reproduction, place the wireless lavalier microphone in the center of the chest. Clothing that rubs against it should be avoided. Cotton and wool, as opposed to silk and other synthetic fibers, are less prone to noise.
3. Make It Discreet
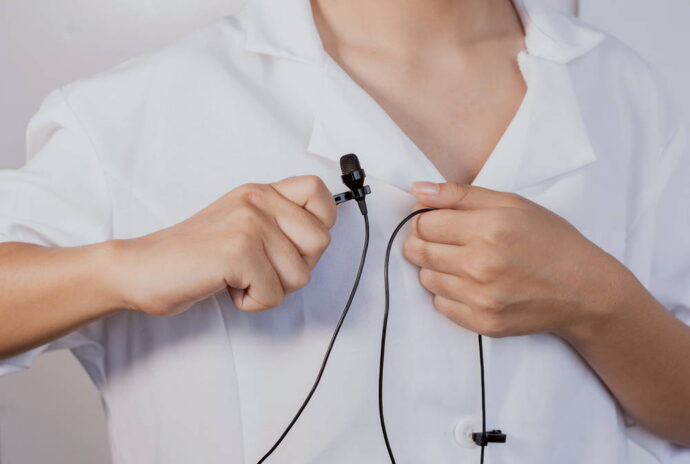
Clothing rustling can be avoided and mitigated in a variety of ways. One typical option is to use a non-rustling substance to shield the mic. Another common method is to wrap the microphone in a body tape pillow to keep the mic’s head from coming into direct contact with the cloth.
A tape-pillow, when properly constructed, can also serve to conceal the shape of the microphone if the outline is evident through the clothing. Use your imagination when it comes to disguising your wireless lavalier mic. You can sew a dual wireless lavalier microphone system directly into a person’s jacket or poke it through the head of a button on a dress shirt to have better audio quality.
4. Monitor The Audio
It’s the worst feeling in the world to return to your computer after getting great footage only to discover that your audio was ruined the entire time. Signal interference, cable noise, rustling clothing, or an inconvenient blast of wind are all examples of minor oversights that can derail an entire shoot.
You’ll have a better chance of catching these mistakes if you listen to your audio using headphones or even earbuds. Save yourself the anguish of rescheduling talent and reshooting the project by putting on a windscreen while recording with your lavalier microphone wireless at 2.4G.
5. Store It Carefully
Lavaliers are teeny-tiny and delicate. This is why, when not handled and cared for properly like any other thing, they frequently fail. The most common mistake made by lavalier users is wrapping the cable too tightly. The delicate connectors are strained when the wires are wrapped firmly. Wrap the cords loosely instead. If you have limited storage space, wrap the cords gently yet loosely.
Get your lavaliers a dedicated case. Don’t be hesitant to invest in one to protect your lavalier companion from damage or malfunction. Make sure you have everything you’ll need to keep your lav running well in your backpack. Being sluggish and unprepared causes you to slow down and waste time.
Conclusion
In many ways, sound recording is comparable to filming sights. You wouldn’t shoot an interview without taking the lighting into consideration. Your image can get noisy if you just filmed in the dark. When you’re capturing sound, your acoustic room treatment is effectively your microphone’s illumination; your microphone is similar to the camera’s sensor. As a result, the higher the quality of the microphone, such as a wireless lavalier microphone, the more capable it is and the more audio it captures.


