
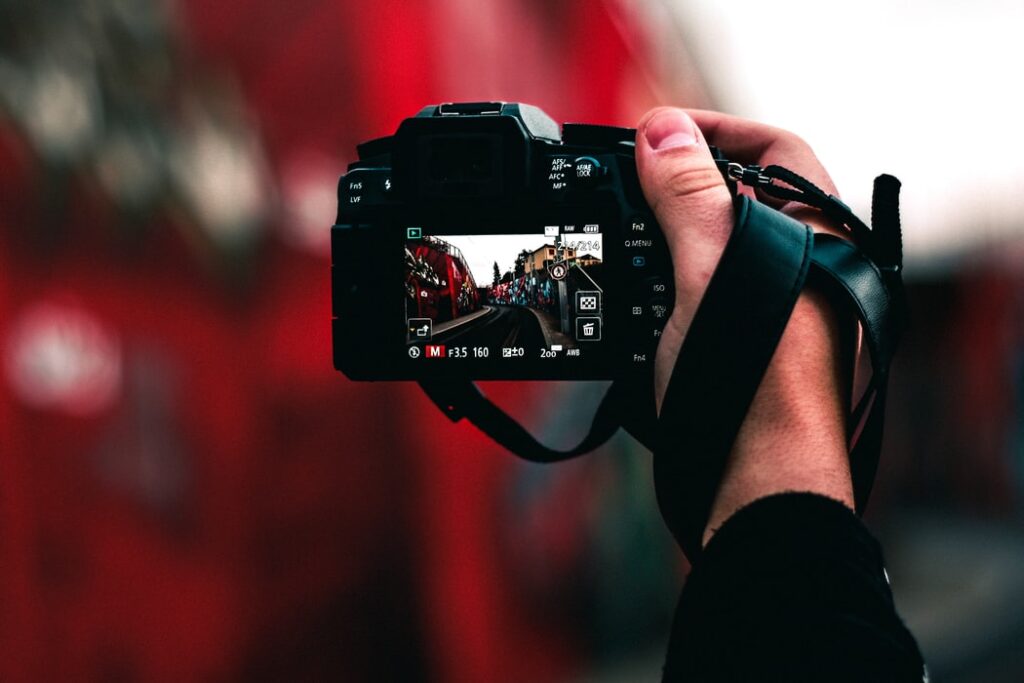
Creating impressive pictures is not complicated today. You can use some of the most recent smartphones instead of professional cameras and still get amazing output. It requires a set of skills and talent to capture engaging pictures. However, editing is a very important part as well. You can choose from a wide selection of editing programs and apply their advanced functions to improve some features of the photo.
Still, you should know that most of this software requires proper knowledge and experience especially when it comes to the most popular options like Photoshop, Illustrator, and more. With the increase in popularity of social media and the need for more online content, we can notice an increased demand for graphic designers and photo editors. Therefore, it is necessary to learn the complex functions of photo-editing software to satisfy your clients.
If you are using Illustrator, there are many abilities available with this program. You can see here more about the feature where you can remove the text from a photo. Also, there are options related to the quality, design, adding objects, and much more. However, it is crucial to learn how to apply these functions and improve the quality of an image. It is not a rare case that editors might go too deep with their editing features, which you should avoid. Here are some common mistakes of beginners in photo editing.
1. Excessive use of HDR
The HDR feature represents an excellent option where you can focus on one object and improve its appearance while the backgrounds will get blurred. However, it should not be used for any object or in every situation. It can cause too much blurry space behind the object and make the picture unnatural. If you are making photos of people, animals, or nature, the main point of editing is to provide it with an even more realistic appearance with a certain focus on a particular object.
2. Using the Black and White Feature More Often
This is another excellent option. You can use this filter to create unique and more engaging images. However, it is not suitable for any ambient. For example, the background is already too dark, applying it will completely lose focus on the targeted object. The great thing is that we can simply experiment with various filters, which leads to the fact that you should never rush with the final output of an image, especially if you are editing it for a client.
3. Selective Coloring
It represents a very popular function for beginners to use the black and white filter, and then choose some parts of the photo to apply other colors only on that spots. That indeed can make outstanding images, but only if you manage to do it properly. It might be fun to play around with filters, but if you are planning to create content for social media or some website, be sure to use this option only in proper form.
4. Mistakes with Contrast and Saturation
Even a basic smartphone today has this feature implemented in the editor. You can use it to remove dark spots or excessive brightness and from some part of the picture. However, you should focus on providing balanced colors and proper contrast. For example, if you are making images of people, be sure to make their skin look natural. The higher saturation can help you to improve the colors and the background, but the skin of the person or the appearance of any other objects might seem over-edited.
Another common issue is that this function can lead to a more plastic appearance of the skin. It is not natural for it to be as smooth as in your image. Therefore, try to apply the contrast and saturation properly. The great thing is that we can find many presets in the software, along with online tutorials that can help editors to improve their abilities.
5. Color Tones
You should learn more about different color combinations and how they can mix. Focusing on one color might affect the poor quality, balance, and clarity of an image. The most common mistake is when people are trying to color shades. You should find a way to apply only those colors that can fit the ambient.
6. Cropping Too Much
It is useful when we can cut some parts of an image to provide the focus on the main objects. Still, you should always combine this option with a proper aspect ratio. Be sure to leave some parts of the backgrounds and don’t make an image appear much larger than the original. That is especially the case with photos of nature, where people often use HDR, and cropping it too much along with this option will make the photo less realistic and over-processed.

7. The Original Might Don’t Require Editing
We are aware that beginners will be more interested in checking various features available by photo-editing software. However, you should always consider that the original file might not need any improvements. An even worse is when editors apply filters and other features on the original photo and forget to save it in the previous stage.
8. Always Compare It to The Original
One of the best ways to be sure that your project is going well is by checking and comparing it with the original file whenever you apply some feature. That will help you to find a proper balance and avoid using too many options that could create an over-edited appearance. There are hundreds of different tools available. Therefore, be patient and try various combinations until you are sure that you have applied the most suitable color notes and filters.
Last Words
The most important about photo-editing is to learn how to use and combine all of the available tools. The experience will help you to learn the difference between proper improvement and over-editing images. Therefore, take your time and practice with all sorts of combinations. Also, be sure to always save an original format for comparison.


