
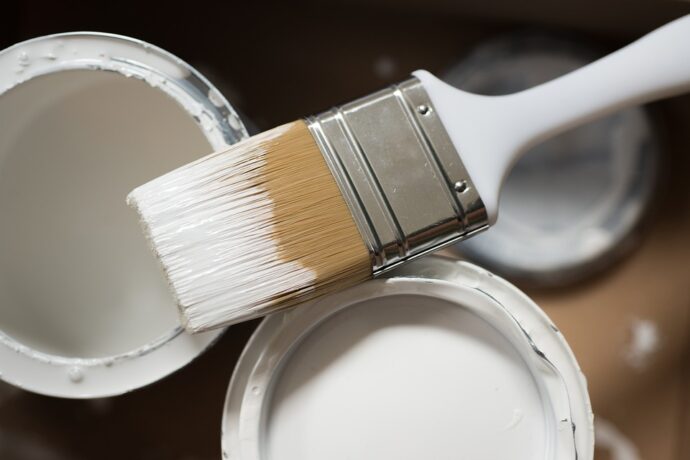
A fresh coat of paint on your walls can make all the difference to how clean and vibrant your home looks. The right colour combinations and finish can lift your mood and set the most desirable ambience. So, whether you’re moving into a new house or would like to give your existing home a new look, painting your walls can have the most transformative impact, much more than changing the furniture or replacing the fabrics.
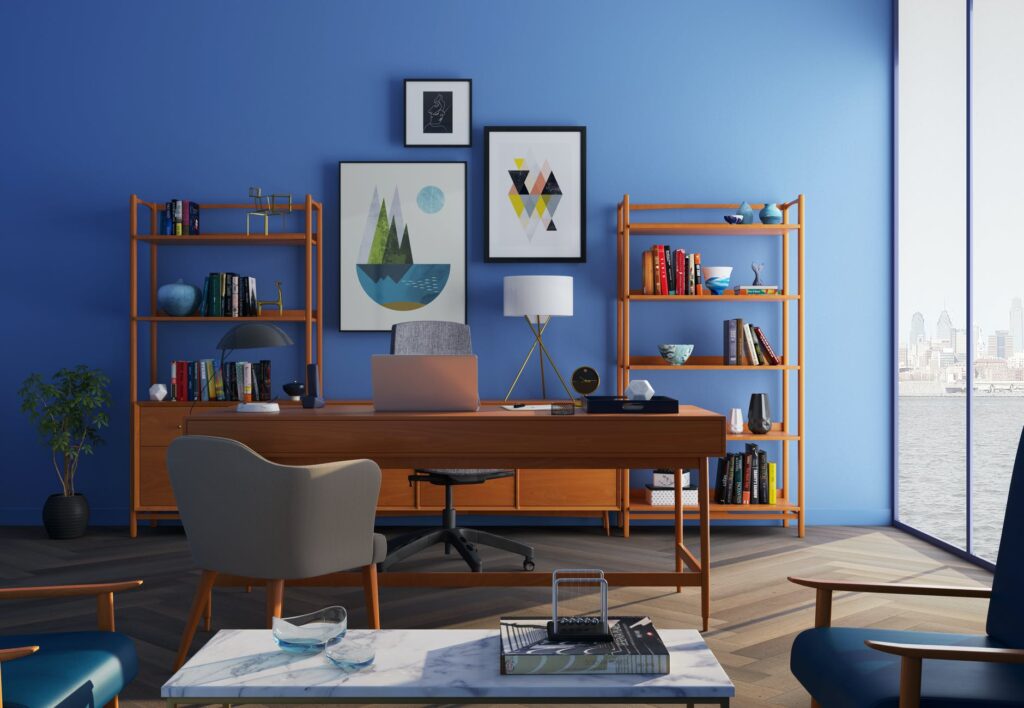
Just by choosing different colour combinations and textures, you can set a different mood in each room. For instance, you can choose a calming green in your bedroom; but you can go for a stylish texture with a metal paint for your drawing room.
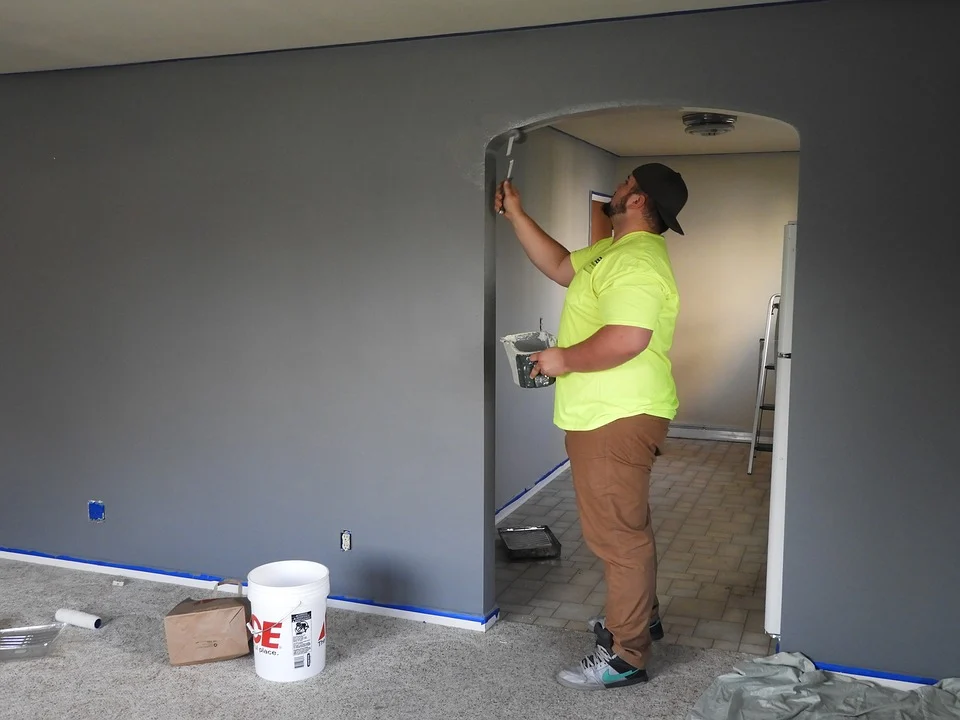
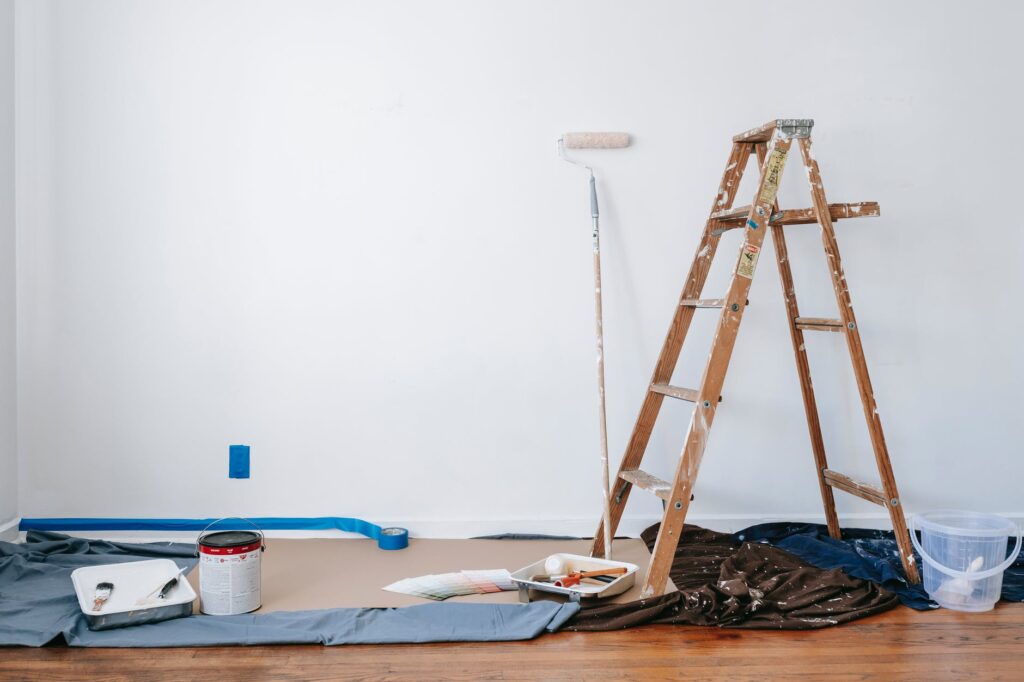
Before starting your home painting job, here are some common problems people face and their solutions. Following these can enhance the visual appeal and keep the walls looking fresh for longer.
Problem 1: Peeling
Peeling occurs when the bond between the paint and the surface weakens, and the existing layer of paint peels away from an older layer. Peeling mostly happens when paint is applied to an unclean surface, when humidity levels rise, or when water seeps into the wall.
Solution
If your walls are peeling, sand the affected area and apply an undercoat. If the affected area is large, sanding can cause a significant amount of dust in your home. This is not just messy, but also harmful for people with dust allergies and breathing problems like asthma. Consider asking professionals, who can get the job done using a sanding machine that has a vacuum duct to collect the dust released during the process.
Choose an undercoat that is formulated with a superior quality binder which is a high-quality alkyd coating formulated for excellent inter-coat adhesion. For best results, make sure it dries completely and ensure to wipe the surface before you begin painting. Consider installing exhaust fans or dehumidifiers to remove moisture and provide proper ventilation to avoid peeling walls.
Problem 2: Mildew
Common on exterior walls, mildew is a fungus that feeds on the paint film and causes black, grey, or brown patches on the surface. Never paint over mildew, thinking it will simply go away. It won’t. In fact, it can become harmful to your health and lead to more paint problems.
Solution
It’s easy to get rid of mildew. First, clean the surface with a safe bleach solution and rinse it off with water. If the patches are still visible, try washing the surface with soap, then rinse with water and allow it to dry. After the mildew has cleared, paint over the surface, preferably with WeatherCoat Biowash, a fast-acting anti-fungal pre-treatment paint to prevent patches of mildew from occurring again.
Problem 3: Chalking
Weathering causes paint layers to degrade, resulting in the formation of a powder-like substance on the surface. Chalking can also occur when the paint is over-thinned before application or when you use interior paint on outdoor surfaces.
Solution
You can either scrape and rinse the surface or use a garden hose to remove the powder layer. First make sure the surface is completely dry, and only then apply the paint.
Problem 4: Cracking
When you apply a new coat of paint on a layer that is not completely dry, the bonding between the layers weakens and results in cracking. While painting, a heavy hand can also lead to mud cracks, where too-thick paint dries with a clumpy and swollen look. Moving forward with the second coat of paint before letting the first coat dry out thoroughly can also lead to these problems. In addition, cracks can appear simply due to the aging of the paint. Over time, paint becomes brittle, making it less adaptable to temperature and humidity fluctuations and thus causing cracks to develop.
Solution
To fix paint cracking, use sandpaper to smooth the whole damaged area. Then use a crack filler paste or powder, level the surface, and let it dry. Finally, apply a coat of paint. To prevent cracking, always make sure you remove layers of old paint completely and sand the surface well before applying paint.
Problem 5: Blistering
Blistering can occur when water dries rapidly and creates a vacuum. It can also happen when retained moisture stretches the paint coat. It mainly occurs when you paint outdoor surfaces in bright sunlight, severe rain, or extremely high humidity. You can choose Berger Paints waterproofing solutions on bergerpaints.com.
While painting the interiors, moisture passing through the walls from bathrooms, kitchens, and basements can push the paint off the surface. Oil-based paint is also apt to blister when applied over a damp surface or water-based (latex) paint. Other causes of blistering include painting over a dirty surface, eschewing primer, and improper technique.
Solution
You can scrub away any blistering and smooth down the remaining bubbles with sandpaper until no paint remains. Then apply a coat of superior quality paint.
Problem 6: Brush Marks
Paintbrush marks are deep and permanent. They appear on the final coat of paint as untidy grooves. Brush markings are common when the application brush is not suitable for the consistency of the paint or when the previous coats are not smooth or fully dry. Painting over them may seem like an easy fix, but do it with extreme care to avoid extra brush marks or an unattractive finish.
Solution
Don’t use a new brush for the final coat because the bristles are harsh. Also, use sandpaper to make sure the paint layer you’ll be painting over is clear of any brush marks.
The Key Takeaway
No matter how hard you try, these problems may continue to appear from time to time. Remember to not panic because you can resolve any home painting issues, no matter how hard they may seem at first. You can also choose to avoid the hassle by simply getting help from professional painters who will take the job from start to finish and you can just enjoy your home’s new look.


